Are you currently renovating your kitchen? As one of the most used and loved rooms in the home, the kitchen is often the first place that you want to upgrade. However, one thing you probably know already is that renovating your kitchen can be expensive. But there are upgrades you can make to your kitchen that are easy and affordable. One project we love is a do it yourself backsplash.
Do I really Need a Backsplash?
If you are ripping your kitchen apart and starting from scratch, you may wonder; do I really need a backsplash? In fact, there are a lot of people who do not get one. Simply, they paint the wall and leave it at that.
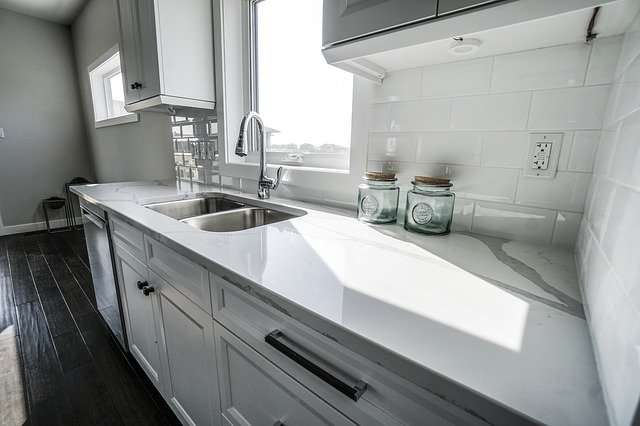
But, there are many benefits to having a backsplash that you need to consider. Namely, this is a kitchen accessory that is designed to protect your walls. We all know that cooking can be a messy business. When you are using the stove, liquids can splash up onto the walls and accidents can happen. Without a backsplash, this can lead to unsightly stains on your walls, caused by food and oils. The last thing you want to have to do is paint all the time, especially after a renovation.
Another thing to consider is that excessive moisture can lead to mold and mildew growth. This is definitely something that you do not want in the kitchen and near cooking areas. Therefore, a backsplash is going to protect the wall and leave you with a surface that is easy to clean after cooking. Backsplashes can be made from a variety of materials, such as glass, ceramic tile and vinyl. All of these surfaces are simple to clean with a disinfectant and cloth.
Do not forget that a backsplash is another opportunity to show off your personality and style. There are lots of colors, patterns and designs that can add interest to your kitchen. You can have some fun and bring style to your home.
Do It Yourself Backsplash Ideas
A do it yourself backsplash project can transform your kitchen, adding color, style or even creating space. Here are some inspirational ideas to get you started.
Stick-On Vinyl Backsplash
Let’s start with a simple yet effective way to create a backsplash. We are talking about the stick-on vinyl type. Just as the name suggests, this backsplash is self-adhesive and it is going to protect your wall. All you have to do is cut it to fit your wall behind the stove and press it against the surface.
The Advantages
First of all, a stick-on vinyl backsplash is very easy to use. You do not have to be a project enthusiast and have a lot of tools for this one. It is probably the simplest do it yourself backsplash idea we have seen. It is also very affordable and you can find a lot of different patterns and designs at a home improvement store and only. You can replicate the look of tiles and mosaics without all of the hard work.
Another good thing about stick-on vinyl backsplashes is that they can be removed a lot easier than other options. For example, if you are someone that likes to change styles a lot or is indecisive, this is going to be a good choice for you. You will be able to do this without damaging your wall, with no professional help and if you are on a budget.
Things to Know
While we think that this do it yourself backsplash is very easy, you do have to have some patience to get it right. Stick-on vinyl materials easily attract air bubbles when you attach them to a surface. Therefore, you have to make sure you take your time and get it right. A squeegee is going to be your best friend for this task. Also, you want to ensure that you measure the wall before you cut the vinyl. This is going to make sure you have the exact fit and it does not look messy.
Stick-on vinyl is not going to be the most durable option out there. Thus, be aware of this when you are purchasing it. Most people are willing to accept this since it is cheap to buy. You will also need to look for a safe option if you plan on using this in the kitchen. Get the instructions for the vinyl first.
What You Need
- Sharp scissors
- Measuring tape
- Roll of self-adhesive vinyl
- Squeegee
Wooden Laminate Flooring
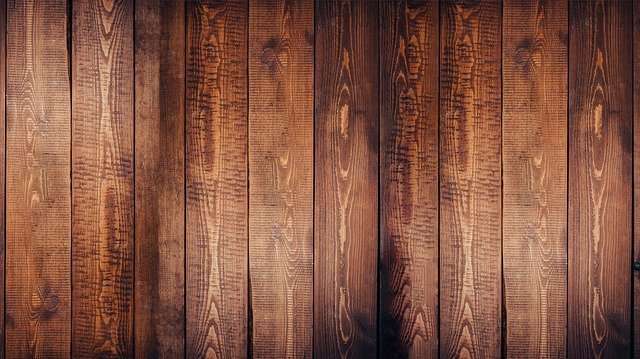
Do you like the idea of having a wooden backsplash? This is a design that a lot of people desire but it is not the most practical. But we have the perfect do it yourself backsplash project that you can try instead. We are talking about using wooden laminate flooring.

There is a lot of laminate flooring you can purchase that resembles wood and gives you the style you want. Well, why not create your own wooden backsplash using laminate flooring? You can cut the flooring for your kitchen and use a brad nail gun to attach it.
The Advantages
One of the huge advantages of choosing laminate flooring is that you are going to save a lot of money. You can enjoy the style of wood without having to pay a fortune. You can purchase the amount you need at your local improve store and by measuring your kitchen first, you are going to avoid waste.
What’s more, wooden is not the most practical material for a kitchen setting. The great thing about using laminate flooring is that it is easy to clean. You will be able to avoid staining your walls and you can clean away food and oils after cooking without a problem.
Things to Know
Laminate flooring can have a different thickness. This is something to remember when you are considering using this material for a do it yourself backsplash. After all, you want it to blend in seamlessly with your kitchen. Shop around and explore your options before choosing one for your home.
What You Need
- Cutting knife
- Laminate flooring
- Brad nail gun
Tile Paint for Your Backsplash
If you already have a substantial backsplash in your kitchen, you might not feel like taking on the task of removing it and buying more tiles. Indeed, you might need professional help for this and have some skills to apply tiles. But a quick way to rejuvenate the backsplash you have is choosing tile paint. This is a special type of paint that is going to cover the existing color and pattern you have so that they can look brand new again.
The Advantages
The obvious advantage of this do it yourself backsplash is that it saves a lot of time and hassle. Removing tile backsplashes can be difficult. Simply, you can go to your local home improvement store and pick up some paint. This is a renovation you can complete on a budget and within a day.

What’s more, there is a lot of freedom with this idea. If you are an artist and want to spice things up, you can also purchase stencils and try creating your own patterns onto the tiles. You can even use a few different colors and create a different style. The choice is yours!
Things to Know
You have to ensure that you purchase the right type of paint for this project. A lot of people think that it does not matter. But wall and wood paints will not create the right texture on tiles. Instead, it can peel off and leave streaks. In the kitchen, you need to select tile paint. This is going to last a long time and give you the finish you are looking for.
Make sure that you inspect your backsplash before painting over the tiles. You want to ensure that they are still in good condition without any cracks or damage. Otherwise, you might be wasting your time and have to replace them soon.
What You Need
- Paintbrushes
- Tile paint
- Stencil
Peel and Stick Tiles
Do you love the look of tiling for a backsplash in your kitchen? We all know that using tile looks good but it is also more money and requires more skill. If you are looking for a quick and easy way to enjoy the same style, consider peel and stick backsplash tiles. Again, this is another option that is self-adhesive and it is ready to go. Forget about the grouting and tile placement. Instead, you can get sheets of backsplash tiles and save a lot of money.
The Advantages
If you are looking for a simple and easy job, peel and stick backsplash tiles are what you need. This is a non-messy way to rejuvenate your kitchen and add a brand-new backsplash. Of course, you can enjoy the look of tiles without all of the hard work.

There are a lot of different peel and stick backsplash tiles to choose from too. For instance, you can get shiny white tiles to faux brick designs. There is something that everyone is going to love. You can shop for this option online, as well as at your local home improvement store.
Things to Know
One thing to realize about some peel and stick backsplash tiles is that they can curl over time. This is when they are exposed to heat for long periods of time. You may have to pay a little bit more to buy substantial peel and stick tiles so that this does not happen. Alternatively, know that they will not last forever and you can replace them in the future.
What You Need
- Peel and stick backsplash tiles
- Sharp scissors
- Measuring tape
Install a Beadboard Backsplash
If you cannot give up your dream of having a wooden backsplash, we suggest looking into using beadboard. This is going to create a classic style that you will love, as well as being able to paint the wood any color you want. If you are not familiar with beadboard, this is the name given to a row of wooden planks. They will be vertical on the wall and often the planks are narrow. You are going to need a saw to cut the beadboard for your kitchen, as well as attaching it to the wall with construction adhesive. Then you can use a brad nail gun to secure the wood.
The Advantages
Sometimes, you just cannot create the feel of real wood and the rustic style it can offer. While there are cheaper alternatives, for those that are desperate for authentic wood and have a bigger budget, beadboards are going to be your best option. Paneling is on-trend right now and it is going to be simple to create with this do it yourself backsplash.
You can choose from a lot of wood paint to customize the beadboard. This allows you to have freedom with the style and create your own backsplash. You can combine different paint colors or even try a personal design.
Another advantage to realize about beadboard is that there are fewer joints. This is compared to using planks of wood. Since this is the case, there are going to be fewer spots for moisture to gather. In other words, it should reduce the risk of mold and mildew growth.
Things to Know
We know that it is not ideal to have wood near sinks and cooking areas. But you can make beadboard work for you. You have to ensure that it is properly sealed before you install it in your kitchen. You can do this by purchasing beadboard that is already sealed or by doing it yourself. While it will cost a little bit more money, it will be worth it and ensure your backsplash is durable.
What You Need
- Wood Beadboard
- Measuring tape
- Cutting saw
- Construction adhesive
- Brad nail gun
Are you looking to make other upgrades to your home? Check out some do it yourself window tint projects!

