
If you like to keep up with the latest home décor trends, you will know that do it yourself panelling is all everyone is talking about. This is a temporary trend that is taking over and everyone is posting about it on Instagram. It is a great way to transform any room in your home, whether it is the bedroom, hallway or living room. Let’s take a closer look at do it yourself panelling and whether it is right for your home.
What are the Benefits of Wall Panelling?
The main reason why people choose wall panelling is that it can add interest and style to a boring room. If you have a lot of empty walls with not a lot of character, this is a simple yet effective way to create a new design. It can be enjoyed in traditional and modern homes. There is a range of styles when it comes to panelling.
Another reason that people choose wall panelling is that it can actually have an insulating effect. This means insulating for a room’s temperature, bringing warmth to that space. It can also act as noise insulating too.
Of course, you can definitely do panelling yourself. This is something that is simple to do and does not require a lot of tools. For example, you do not have to do much preparation on the walls beforehand. You can also do this project on a budget and for under $100. It can also be attempted by one person without any help or knowledge. Later on, we are going to take you through the steps you need for do it yourself panelling.
Is Do It Yourself Panelling Going to Save Me Money?
There are a lot of professionals and design companies that can come to your home and create panelling for you. But, this can take a lot of time and money. It is not a cheap experience if you want to decorate many rooms in your home this way. But, that is why do it yourself panelling has become so popular. You are able to take on this project yourself and save money.
So, will you save money by attempting do it yourself panelling? The answer is definitely yes. Not only is it a fun project, but it is going to save you hundreds of dollars. You can do this project on a modest budget and it does not take a lot of skills or experience to create a good job. You can create anything from contemporary to traditional designs.
What Material Should I Use for Do It Yourself Panelling?
There are several materials you can use for creating your panelling. It will depend on what room you are creating the panelling, you budget and the thickness you are looking for. So, here is a rundown of the materials you can choose from.

First, a lot of people use natural wood for panelling. This includes, oak, maple, mahogany and cedar. While this might cost more, it is going to make sure that your panelling is durable. It is easy to paint and it can even provide some insulation to a room. But, be aware that some woods are not waterproof for bathrooms.
The second most popular material to use is medium-density fibreboard, which is commonly referred to as MDF. This is going to be preferable if you are working to a low budget. It can be stained and painted, as well as your choice of texture and thickness. Know that it is not the most durable and it is not suitable for anywhere that might have moisture.
You can also use chipboard for creating your panelling. This is another affordable option you can choose and you can choose the density and thickness you want. It is easy to work with but you will have to watch where you position it in your home. For example, it is not going to be suitable for kitchens or bathrooms.
How to Complete Do It Yourself Panelling
If you like the sound of do it yourself panelling and how it can decorate your home, you will want to know how to get started. We have created five simple steps so that you can easily complete the project by yourself. So, let’s take a look at those steps so that you can gather all of the tools and materials you need.
Start with the Planning of the Do It Yourself Panelling
A lot of homeowners are excited to get started with their do it yourself panelling and they want to rush to begin cutting and gluing on the panels. But, it is essential that you take your time and plan this project. This is going to be the key to achieving the style and finish that you want for your home.
Begin by deciding on the design and the best wall in the room for the panelling. You can create a drawing and plan if this is going to help you. You also want to measure the room and know the length of the materials you need. Make sure that you consider any furniture that is going to be positioned on this wall or if there are any light fittings and sockets that may have an effect on the overall design. It can also be beneficial to make markings on the wall so that you are going to be ready to position the panels. Some people do this with tape and using a spirit level for straight lines.
Cut Your Chosen Material
The next step is cutting your MDF or the wood material you have chosen for the do it yourself panelling. This is going to be easy when you already know all the measurements. Using a small saw is going to get this job done. Do your best to ensure that the cut is as straight as you can get it and think about the corners to join the wood. This is going to involve cutting as the same diagonal. If there are any rough edges, you can always sand them down to make them smooth.
Glue to the Wall
Now that you have your do it yourself panelling ready, it is time to attach them to the wall in your home. This is going to be a lot simpler than you think. All you are going to need is a grab adhesive glue. This is going to hold your chosen material firmly in place. Make sure that you thoroughly read the instructions of the glue. You do not want to use too much and it spread out from under the panels and onto the walls. Some types of glue are known to expand in this way.
Once you have all of your panels glued into place, it is time to let it dry. Again, this is going to be down to the product you use. But, be prepared to wait a few hours up to 24 hours before you can move onto the next step.
Fill in the Gaps and Cracks
It is common for gaps and cracks to appear once you have glued on your do it yourself panelling. This is not something you have to worry about or think that you have to start all over again. It is easy to fix from under $5 and your panelling is still going to look great. All you are going to need is some decorator’s caulk. This is going to allow you to fill in those gaps and cracks and seal them. Know that gaps can appear if your walls are not straight. This is common in older homes. So, you are simply going to use the decorator’s caulk and this is going to fill in the imperfections that have appears. Allow it to set before it is time to paint.
The painting process is where you have a lot of freedom. You can choose to paint your panelled walls any color you want to match the décor of your home. Some people choose to prime the MDF or wood before they paint. This is an option that is up to you. But, if you are trying to keep your costs down, you can simply skip to painting. You are still going to have do it yourself panelling that is durable and lasts a long time in your home.
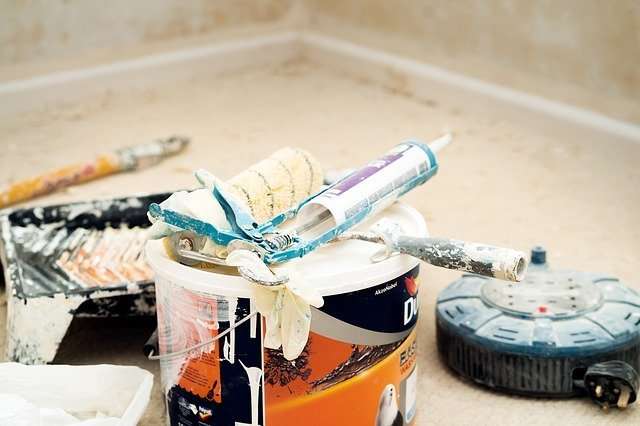
Start Painting
Know that whatever paint you choose, you might have to apply a few coats. This is going to give you the even finish you want. Take your time and apply with a paintbrush. You can also choose to tape the sides of your panelling and apply the coat with a roller to the wall. Then you can use a paintbrush for the panelling itself. This is going to make sure you get the smooth finish you are looking for.
After the paint is dry, you can start to move your furniture back and decorate your room. Do not forget to step back and admire your work and new do it yourself panelling!
Are you decorating your bedroom? Check out these headboards you can choose for your next project.