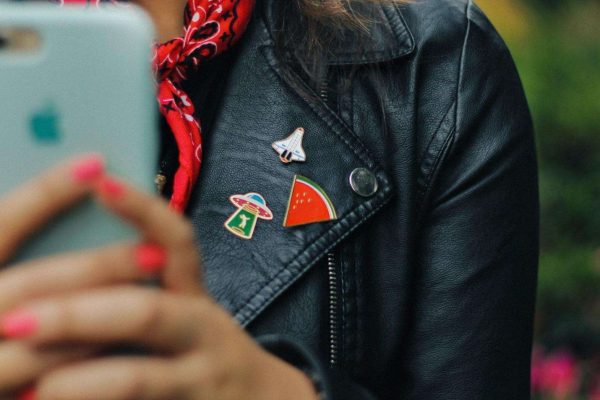
If you have a keen interest in fashion and love following the latest trends on Tumblr, Instagram, or Pinterest, you’ve probably heard of enamel pins. These simple yet elegant pins are taking the DIY world by storm as a fun and creative way to spice up any outfit with different shapes, designs, typography, and colors. So, whether you’re looking to support your favorite team or something to help you stand out from the others at work while looking professional and classy, get your hands on these trending fashion accessories.
Or better yet, learn how to make enamel pins at home and avoid spending unnecessarily on generic or custom pins. If this sounds like something you’re up for, you’re at the right place, as we’ll share a detailed guide on making DIY enamel pins from scratch. This way, you can truly make these fashion accessories your own with custom designs and colors.
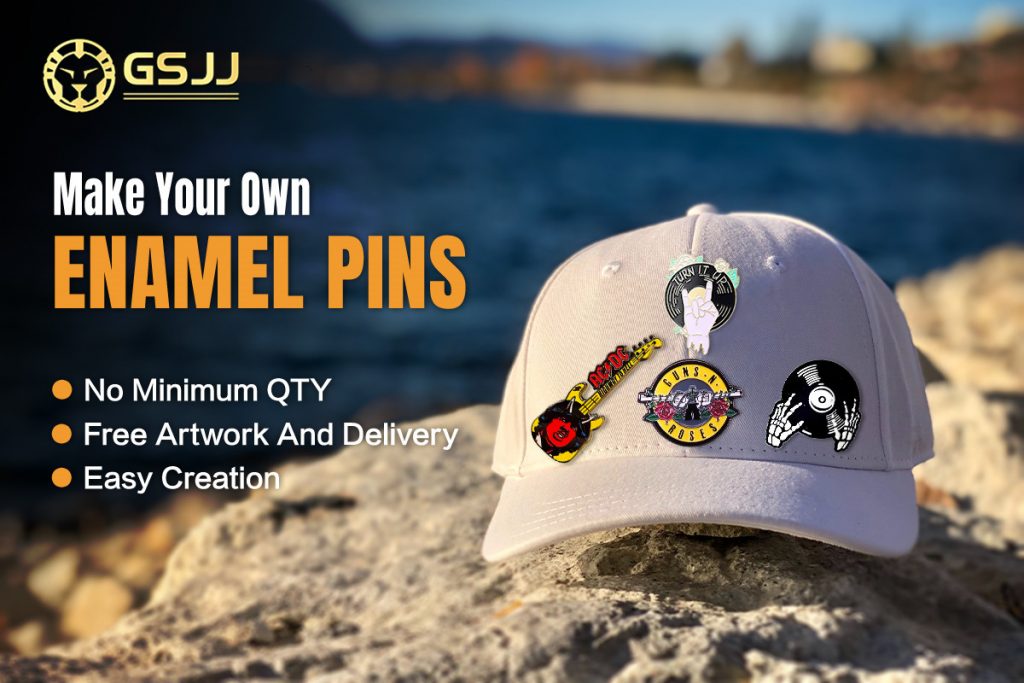
If you are busy with work and do not have plenty of time to complete the DIY, or when you need a large number of enamel pins, choosing a professional enamel pin maker will be a very good choice. Working with the maker, all you need to do is submit your artwork and they will take care of the rest, which saves a lot of time and effort. Enamelpins.com is an online professional enamel pins manufacturer that provides one-stop service from design to shipment.
Let’s get started!
What are Enamel Pins?
An enamel pin (or lapel pin) is a plated metal pin usually made of steel, iron, aluminum, or brass cut in different shapes and sizes. It is filled with a unique enamel paint design or custom artwork to be worn as part of an outfit.
What Are they Used For and Where to Wear Them?
Unlike accessories like cufflinks and tie bars, enamel pins serve no practical function. They’re purely aesthetic accessories designed to relay a particular message, idea, or style and used as an expression of creativity or personality. Enamel pins are excellent for grabbing attention due to their unique and colorful designs, especially when you wear them to show some kind of affiliation, whether it’s to your favorite sports team, country, organization, or a particular cause. Here are a few places you can wear these creative fashion accessories:
Weddings
Enamel pins, especially those with flower or boutonniere designs, are perfect for grooms, groomsmen, and members of a bridal family. They’re extremely fashionable and add a formal and sophisticated touch to wedding attire without overdoing it.
Races and Sports Events
Horse racing events are excellent occasions to play dress up and boast your custom enamel pin designs with unique textures, patterns, and colors. For other sports, you can design one with your favorite team’s badge, logo, emblems, and colors. For instance, if you love tennis or golf, you can wear a lapel win with golf clubs or tennis racquets.
Corporate Events
By nature, corporate environments require a professional dress code with ties and other dedicated accessories. However, this doesn’t mean you can’t spice things up with a small pin showcasing your personality and love for what you do, especially if you decide to use your brand’s logo.
How to Make DIY Enamel Pins At Home
Lapel pins might not sound like something you can make easily, but you’d be surprised how easy it can be. So, if you’re ready to summon your inner DIYer, here’s how to make enamel pins at home with custom designs and colors:
Tools/Equipment
- Metal shaper/cutter/grinder
- Oven
- Safety equipment (goggles, oven mitt, etc.)
- Inkjet printer (optional)
- Scissors
Supplies
- Locking pin backs
- Glossy enamel spray
- Modge podge or glue
- Isopropyl alcohol
Steps
Make Your DIY Enamel Pin Design
The first step is to get your enamel pin design ready so that you can cut the metal according to the required dimensions. To make the design, you can either sketch your own or design one on your computer. If you take the digital route, you’ll need an inkjet printer to print your design. Make sure you adjust your printer settings accordingly and use high-quality paper (premium matte or film paper, etc.) for the best results. If you use normal paper or a different type of printer, the ink might smudge and ruin your efforts. Once you have your design ready, cut it into the desired shape and size using a pair of scissors and remove as much white as you can around the outside of the image.
Prep the Metal
For your first time, we recommend keeping your pin as simple as possible and using the proper safety equipment. To start, mark and cut off a piece of metal (aluminum, steel, iron, etc.) into the desired shape with half-inch margins on all sides using a torch or metal cutter. Once you have the base, clean it with isopropyl alcohol to remove any metal dust. Next, you need to trim off all the excess material, preferably with a bench grinder, and then sand the edges with 220 grit aluminum oxide sandpaper. Now, your pin’s metal base is ready.
Attach Your Design and Bake the Pin
Whether you opted for sketching or printing your design, the next step is to attach your design to the metal base using super glue or Modge Podge. Alternatively, you can simply paint your pin using a small paintbrush. Once you’re done, set your oven to 350 degrees and place your pin into a baking tray for two minutes.
Seal Your Baked Pin
Once your pin is baked, don’t handle it immediately and let it cool down, so the paint or design doesn’t come off. Once it’s cool, apply two coats of Rustoleum Clear Glossy Enamel Spray with an interval of 30 minutes between each coat. After the coats, you need to inspect your pin for any trapped air and use a toothpick to move them to the edge without popping them.
Attach the Locking Pin Backs
Once your enamel pin design is ready, all that’s left to do is flip it over and attach the locking mechanism. We recommend opting for metal pin-backs instead of regular rubber ones for longevity. To attach the pin back, simply apply a couple of drops of super glue and carefully stick the two components together. Make sure you let the pin dry for at least a couple of hours before wearing it. Once it’s fully dry, you’re all set to add your DIY enamel pin to your favorite jacket, backpack, or purse.
Conclusion
And there you have it – a simple yet detailed guide on how to make enamel pins at home. With this information, you’re just a few hours from upgrading your outfit with a highly personalized fashion accessory that you can proudly show off. Taking the DIY route to design custom pins adds a sense of pride and confidence wherever you go since you’ll be wearing something that showcases not only your personality but also something you made yourself. So, what are you waiting for? Head to the nearest store or order online everything you need for this creative DIY project and get started right away!
