Wooden pallets used to ship freight and goods are mostly discarded once the merchandise has been transported. But what DIY fanatics do is that they use them for all kinds of projects around the house. You can create stylish and modern furniture pieces that’ll be great for everyday use.
What excites us is that there are so many ways to use these wooden pallets. Most are made of pine or softwoods, while others are from maple or oak wood. Since these are solid, they help make your designs hold up a good amount of weight. You can now welcome friends and family without having to fear no extra space to accommodate them.
If you’re a DIY lover, here’s how to make a DIY pallet sofa.
Tools & Equipment Needed To Make A DIY Pallet Sofa
To make a solid, comfy, yet attractive DIY pallet sofa, here’s all that you need:
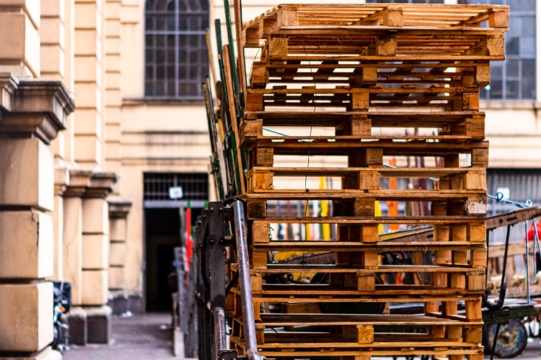
- Three wooden pallets (or four depending on how high you want your sofa to be)
- Garden furniture chalk paint
- Paintbrush
- Small roller and tray
- Cushions (however many you can fit on the sofa while allowing space for other people to sit on it too)
- Sofa seat (to keep as a base to sit on)
- Electric drill (preferably cordless)
- A pack of screws
Now that you have your list of must-haves, you’re all set to make your first (of many) pallet sofas.
How To Make DIY Pallet Sofa
No rocket science goes into making a pallet sofa. You can get done with this DIY project in just a couple of hours. The best part is now you won’t have to compromise on anything. From choosing the colors to the fabric and cushions, you can design to your heart’s content.
We have divided the course of making a pallet sofa into an easy-to-follow step-y-step procedure. It will have you nailing it the first time!
Step 1 – Painting The Pallets
It might be surprising to see painting as the first step since it’s usually the last. Still, the truth is there is no need to do anything to these three pallets as if you’ve bought one from the store or taken it from a place where they’ve been discarded, they will come already assembled, kiln-dried, and FSC accredited. So all you need to do to get them into the theme of the area you wish to place this at. You can start painting them using a mini roller for an even finish.
Apply one coat, let it dry, and then do the second. Leave the paint to dry one hour before you start to paint the underside, as you’ll need to flip it, and you must be sure that it’s scorched before you do so.
Step 2 – Securing The Base
Once your paint is dry on all three pallets, you can start placing the pallet where you wish your sofa to be. Stack two on top of each other and see how it looks. If you feel like you need it to be higher, you can stack the third one, too, and make one extra for the back support. Whatever setting suits you best, you can do that and then move on to the next part.
Now is the time to use the electric drill and screws you got. Use the screws to secure all the sides, including the centerboard in the middle. Keep repeating the process till all the pallets are well locked with each other.
Step 3 – Forming The Back
Now that you have a stable base painted and fixed correctly, you can start forming the back of the pallet sofa. You can do this by adding another pallet in a vertical position to create the back of your sofa. Make sure to put it against it and see how the overall result looks and whether it requires any changes. The back needs to be as highly sturdy as when you sit. You will lean back and put most of the weight on it. Make sure you secure it well with screws and drill the holes so that the screws fit in nicely, and lock it securely. Once done, sit on it to see what it feels like and if it sits right.
Most of the time, people don’t wish to have the entire pallet as the back, so they end up removing some of the wood from the pallet, which requires you to open the preassembled pallet and take out as much wood as you want and then reassembling it to get the desired back you want. Or the other way to do this would be to make your own wooden back that can sit well with the entire pallet sofa theme. Whatever you decide, make sure that it is well built and does not fall apart on the first go.
Step 4 – Decorating The Pallet Sofa
This is, without a doubt, the best step of the entire process. Once you’re done securing all the pallets together and forming it into a cute DIY pallet sofa for your living room, backyard or fireplace, it’s time you bring it to life. Add more color to it by getting soft sofa runners, cushions, and a very comfy sofa seat so that you can make the most use out of it.
Many retailers sell affordable and highly comfortable sofa seats that will fit perfectly on top of the pallets. You can add more color by placing pot plants, fairy lights, and even paper pom-poms around it.
Once you’re done with all the assembling and have given the final touches to your pallet sofa, you can enjoy your DIY pallet sofa to the max and showcase it to friends and family as it is your effort. You can now feel proud of a piece of furniture in your house made by you that is just by the way one-fourth of what they’re charging in the market for a new one.
We hope this article answers all your questions regarding how to make a DIY pallet sofa and will allow you to make yours in no more than a few hours. Not only will these steps save you time but a whole lot of money, and it can be something that you can be proud of.
