Do you sometimes struggle to find a safe storage place in your home to store your precious stuff? You definitely need to try out DIY secret compartment ideas that we’re going to share in this article.
Secret compartments and hidden storage are not only a great way to store your treasures, but they also add a bit more space to your home. Not to mention, they also help you organize your stuff. From false bottom drawers to secret compartments in wood floating shelves, you’ll find ten smart yet easy DIY secret compartment ideas in this article.
So, let’s get started.
DIY Secret Compartment In Wood Floating Shelves
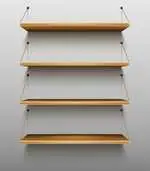
Floating shelves are a way to add a contemporary touch to your home. But did you know you can also create DIY secret compartments in these space savers?
This is a 2-in-1 do it yourself tutorial, where you’ll be creating wood floating shelves as well as secret compartments in them.
What you’ll need:
- Plywood
- Wood glue
- Miter saw
- Wood screws
- Nail gun
- Table saw
- 8’ 1×3 and 1×4 Boards
- French cleat
Step 1
Start with cutting the plywood and boards for sides, front and bottom of the shelf, and drawer into the size you want for your shelves. Remember to keep the tolerance for the drawer section when cutting the parts of the shelf. You need to cut the ends of the shelves, and side pieces at an angle (45°) using a miter saw.
Step 2
Sand all the parts of the shelf and drawer with 220 grit sandpaper to remove scratches or cuts. Then paint or stain the pieces with your desired color that fits well with the overall color theme of your home. You can also stain the shelf, depending on what you like.
Step 3
Assemble the drawer by attaching the sides to the bottom and top by using wood glue on the edges. Then using a nail gun and brad nails, secure the parts in place. Next, assemble the shelf using wood glue and brad nails.
To hang the shelf to the wall, you can use a French cleat. If you’re using French cleat, attach it to the shelf at this step. The other part of the French cleat will go on the wall.
Step 4
Now, attach the two parts of the French cleat to hang the shelf to the wall.
DIY Secret Compartment from Old Books

This is one of the smartest DIY secret compartment ideas. With just some old books, a few pieces of wood, glue, and a knife, you can create a cool secret compartment for your small but valuable items.
What you’ll need:
- Hardcover books
- Breakaway knife
- Clamp
- Tape measure
- Pieces of wood/lumber/plywood
- Hot glue gun
Step 1
Gather 5-6 hardcover books and cut the pages of the books using a breakaway knife. Next, cut the covers of the books but leave one cover of the books that you’ll be using on the ends. You can make the compartment as big as you want by using more books.
Step 2
Next, place the books together and hold them in place using a clamp. Remember to keep the books with covers at the ends. Now, using a tape measure, take the measurements from one end to the other for building the compartment.
Step 3
Now, cut lumber or plywood according to the measurements and attach the pieces so that they make an open box.
Step 4
Now attach one end of the box with the end book using a hot glue gun. Then attach the remaining books to the front of the box. Finally, attach the second end book to the other end of the box.
That’s it – you now have a secret compartment behind books, but it’ll look like some random books placed on a shelf.
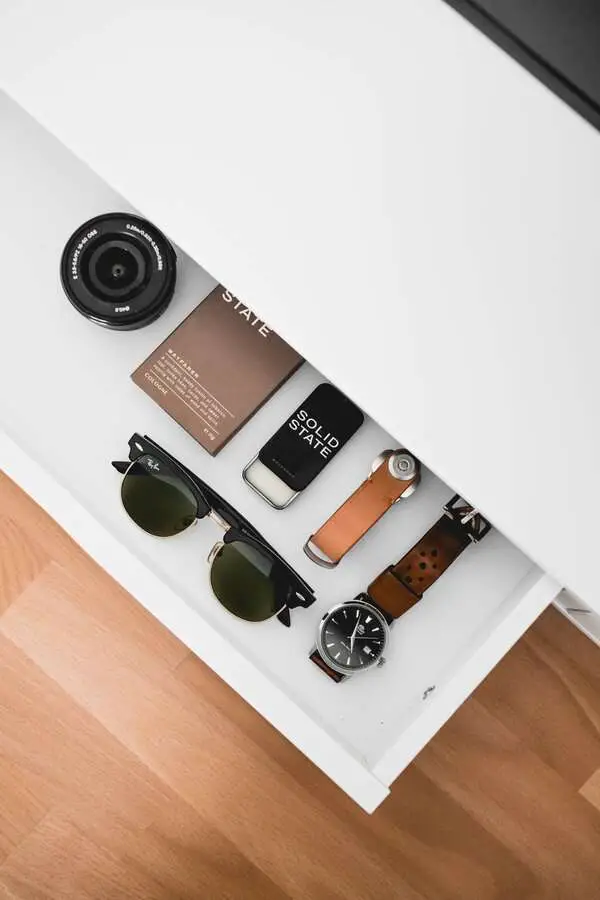
Make a Secret Compartment in a Drawer/False Bottom Drawer
Creating a false bottom is among the simplest DIY secret compartment ideas. They don’t need any electronic locks, and you can create them without making any major changes in your drawer. You can also easily adjust the compartment’s depth according to the stuff you want to store in it. Not to mention, you can always remove it anytime you want.
What you’ll need:
- Drill
- Drill bit
- Tape measure
- Metal rod
- Sandpaper
- Plywood (around ¼ inches thick)
- Four identical Bottle caps, corks, or erasers
- Glue
Step 1
Start with measuring your drawer where you want to build the secret compartment/false bottom. Then buy a 1/4′ inches plywood sheet that matches with your drawer’s bottom. If you’re buying the plywood sheet from a hardware store, you can also ask them to cut it according to the dimensions of your drawer.
Step 2
Check if the plywood sheet fits perfectly into your drawer. But you should also make sure that it is easily removable.
If the sheet doesn’t fit into your drawer, remove about 0.025-0.03 inches from the sheet using sandpaper. Then, check again if it fits. Keep removing 0.025-0.03 inches from the sheet until it fits snugly into your drawer.
Step 3
Next, you need four identical bottle caps or erasers that you can use as supports for the false bottom. But remember to use the items that aren’t higher than one inch. This will make your secret compartment less suspicious. Now secure these identical pieces at each corner of the drawer using glue.
Step 4
Now flip the drawer and drill a hole in the middle of the two supports are on the other side. You can check if you’ve drilled the hole in the right position by flipping back the drawer.
Step 5
Next, take a metal bar and cut a 5-6 inch piece from it. Then bend the piece at 90° (one and a half inches from the end) so that it sort of looks like a hook. This will be used to open the compartment.
To open the compartment for placing or removing your stuff, you need to insert the straight end of the rod into the hole and push it. Remember to flip over the drawer before inserting the rod.
Once you’ve inserted the rod, your false bottom’s one edge will be slightly raised up. You then need to rest the drawer on its side and pull out the false bottom using the bent end of the metal rod.
Step 6
Next, place the compartment back into the drawer. You can also place an old t-shirt at the bottom of your drawer to minimize rattling.
DIY Secret Compartments Picture Frames
This DIY secret compartment idea is another great way to add style to your home and have a secret compartment at the same time.
What you’ll need:
- Framed artwork
- Wood glue
- Wood screws
- Primer and paint
- Full extension drawer slides/ sliding rails
- Pieces of wood
- Nail gun
- Miter saw
- Tape measure
- French cleat
Step 1
Take an artwork with a sturdy frame and measure its dimensions to make the frame for the secret compartment. Next, cut the pieces of wood according to these dimensions. You need to make sure that the top and bottom pieces of the frame are about three inches smaller than the length of the picture frame, but they both should be the same size.
If you don’t want to cut the wood by yourself, you can also get it cut from your local home improvement store. Next, attach the pieces to build the frame.
You can also take an old artwork in your home and build its own frame and then build a secret compartment behind it. You can check out this tutorial if you’re interested in this project.
Step 2
Next, cut four vertical pieces, two for the sides of your compartment. The other two pieces will be placed in the middle/center to hold the sliding rails. One important thing to do is to keep the two center pieces and one end piece smaller in height (about half an inch) from the top and bottom pieces. This will help hide the rail.
Step 3
Next, attach the pieces of the frame using wood glue and then secure them using a nail gun.
Step 4
Prime the wood frame and then paint it with the same color as your walls. Then let it dry thoroughly.
Step 5
Next, attach the drawer slides to the frame using screws. Then flip the frame and attach the drawer slides to the back of the picture frame using screws.
Step 6
Finally, attach the frame to the wall. You can use a French cleat for this purpose. A French cleat has two parts – one is attached to the frame and the other to the wall.
Make a Secret Compartment Inside a Flower Pot

What you’ll need:
- Medium size pot
- Cardboard
- Pencil
- Glue
- Exacto knife
- Faux plant (artificial)
- Garden rocks
Step 1
Take any pot of your choice and place it over the cardboard upside down. Next, trace the top of the pot on the cardboard using a pencil and cut it. This will be the lid of your hidden/secret compartment.
Step 2
Cut a strip of the cardboard and attach it inside your pot about 1-1.5 inches from the top. You can use glue to attach the strip to the pot.
Step 3
Next, insert the lid into the pot so that it sits on the cardboard strip you attached inside the pot. Since you cut the lid to the size of the top of the pot, you might need to trim it a bit.
Step 4
Now make a small hole in the middle of the lid using an Exacto knife. Then take a faux plant and insert it into the hole. Next, secure the plant to the lid using hot glue. It’s better to take a plant with a long bottom as it will be easier to attach to the lid.
Step 5
Now cover the rest of the cardboard using garden rocks using hot glue. Finally, place the lid over the pot, and you’ll have a beautiful plant pot with a secret compartment.
Turn a Candle Into a Secret Compartment

This is again among the simplest and easiest DIY secret compartment ideas that don’t require any power tools.
What you’ll need:
- Pillar candle
- Glass container
- Exacto knife
- Hot glue
Step 1
Take a pillar candle and remove the wick. Next, take a glass container that is smaller in width than the candle. You can use a spice container or any other old glass container in your home.
Step 2
Next, screw out the lid of the container. Then place the bottom of the container on the bottom of the candle and trace around it.
Step 3
Next, using an Exacto knife, scrape out the wax. You need to scrape the wax until your glass container is completely hidden in the candle. Now attach the container (upside down) to the roof of the candle using hot glue. Then put the lid of the container.
Step 4
Finally, flip your candle back over and attach the wick back using hot glue.
Frequently Asked Questions (FAQs)
Q) How to make a secret compartment in your home?
A) There are several DIY secret compartment ideas for your home. From making a compartment in a candle to building cool compartments behind books and picture frames, you can easily make secret and hidden compartments in different places in your house.
Q) Can you make a secret compartment in a drawer?
A) You can definitely create a false bottom (hidden compartment in a drawer) without making any major structural modifications in your drawer. The best part is you can remove it any time you want.
Q) Can I make a secret compartment in a shelf?
A) You can build a handy secret compartment in a floating shelf. It is actually a two-in-one project where you build your own floating shelf with a hidden compartment.
If you’re looking to add color to your yard, check out our article on do it yourself color wood sealant.
