Want to make some beautiful do it yourself mason jar lights? These lights look amazing whether you use them indoors or outdoors. The vintage looks these lights can give to any décor is impressive. So, here’s a pretty interesting do it yourself gig that we have here for you.
Here we will list down some important steps in the process of making these lovely-looking lights. So, let’s get to the chase and discuss how to make these beautiful do it yourself mason jar lights.
Making Do it yourself Mason Jar Lights
There are various lights available, but here are the two most common ones.
1. Using a 60W bulb
Have you ever thought that you can make your own do it yourself mason jar lights? Well, it’s quite easy, and the best part is that most of the supplies are available right at your home.
Rounding the supplies up
● Choosing your jars
The first thing you have to do is to choose your mason jars. Pick the right size of the jar according to how big you want your light to be. If you don’t have some mason jars in your home, you can find them at some antique stores. You can also go for canning jars if you want. You will find these at kitchen supply stores or online.
Some supermarkets have dozens of these jars, especially the canning ones. And they are available in different sizes ranging from 1-quart to 8-oz. With a bigger-sized bulb, your light is going to be brighter too.
For an average bulb that is around 60 watts, you can go for a 12-ounce jar.
● Choose the light kit
You need to go for a hanging or pendant light kit or buy it from a hardware store in your locality. These kits are easily available for lighting up lanterns or paper. You can comfortably hang them from a hook or string them with your ceiling and then plug it into your electrical outlet.
● Choose the bulbs
Now it’s time to choose the right kind of bulbs you can place in your mason jars. You can go with fun and funky light bulbs that can comfortably fit your jars according to the light kit.
Have a close look at the wattage requirements for the kit each if the sockets will have their specifications mentioned. As long as the bulb fits well into the kit, you can pick any design or type that goes into that kit.
● Cleaning your jars
The next step is to clean your jars using water and soap thoroughly. You need to clean as much as you can so you don’t end up having those water spots. Be sure to get rid of any dirt or dust out of the jar and make it look clean.
● Coloring your jars
This step is entirely optional, and you can leave it if you don’t want it. But before adding any bulbs or lights inside your jar, you need to color it using Elmer’s glue and food coloring. Just pour a cup of glue into a disposable bowl and stir some food coloring into it.
Mix them well and apply the mixture to the inside of your jar. But only use a foam brush for this to make sure the coat remains even and consistent. You can allow it to dry overnight. You can also use decoupage glue. Keep in mind you can use any glue for this as long as it can dry and easy to apply.
Moreover, you can always spray paint your lid and the light fixtures for matching with the bed light. You can go for silver, copper, and gold spray paints for this.
Building your light

● Unscrewing the connector
You need to begin by unscrewing the connector that is present on your light kit. The connector is significant and has a circular shape that holds the light in place. You need to take this off, leaving only the cylindrical light fixture right at the end of your kit.
● Tracing it on your jar lid
Now place the light kit on your jar’s lid and trace its shape on the lid. You will have to punch through it to get the light inside the jar. Therefore, you need to be sure you are using both parts of the lid.
● Punching hole in the lid
It’s time to punch a hole into your lid. You can always use a hammer along with a small nail to punch it through, but make sure it is right on the line. If you have a power drill, you can drill a hole in the lid. You can use the nail here, too, and then remove the nail later. Just start with a smaller hole along the line and go with the big one on the same line.
● Carry on punching holes
You can continue punching those holes right around the circle unit until you have cut the entire hole out. You can use the hammer or nail in your power drill to punch those holes until the entire circle is complete. A pair of tin cutters or a very powerful scissor can work here too. These will speed up the cutting process.
● Threading the fixture
The next step is to thread the light fixture right into the hole you have made into the lid and screw the connector back. You have to be sure the wire is running out of the jar.
If there are some sharp edges, you can bend them back with the help of a hammer. But make sure the connector can hold the entire light fixture into its place right on the lid. If you have ended up having a small hole, you can always twist and push to get the fixture through it. But keep a tight seal between the lid and the light.
● Using molding clay
This step might be an option, but it will ensure the light stays in its place in your lid. You can always use modeling clay or even super glue for this. It won’t affect the light if it’s already in a tight hole, but no wiggling will occur if your cut is loose.
● Screwing the bulb to the fixture
It’s time to check the results, and you need to screw the bulb into the fixture and put that lid onto the jar. Turn the bulb on and make sure everything works well.
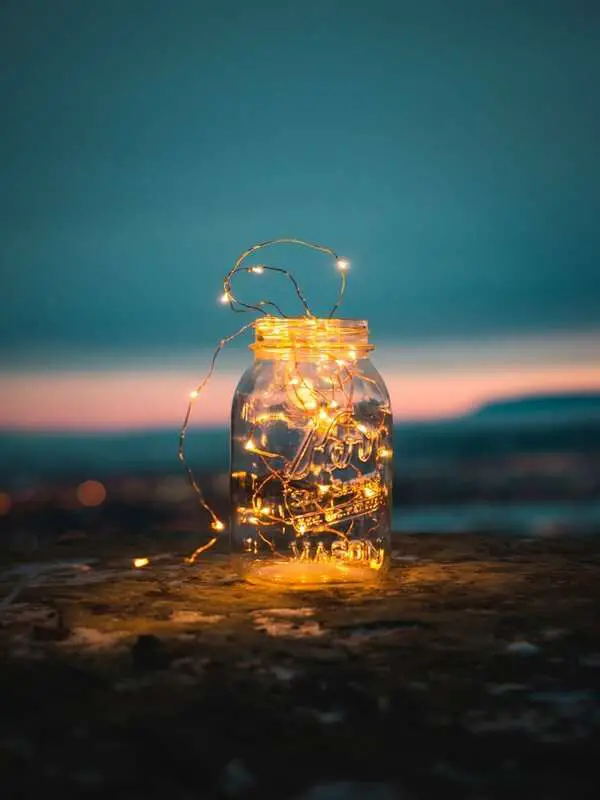
2. Using fairy lights
Using fairy lights to make your do it yourself mason jar lights is very simple. You will have to go for battery-operated fairy lights to make the entire process a lot easier. You need to turn the lights on, make a bundle of them and place them inside the jar.
Make sure the jar is super clean, following the steps that we elaborated in the previous method. When you have placed the bundle of light inside the jar, make sure to expand it a little so there is no room left, and all the lights are evenly spread.
Now close the lid of the jar, and voila! Nothing gets more straightforward than that. Your fairy major jar lights are ready to hang or place anywhere you want.
If you don’t want to complicate things and want a quick decorative solution that looks magical, go with this method instead of the previous one because it is simpler. Just make sure the lights you are using are bright enough to disperse enough glow to create the effect you are looking for.
10 Best Do It Yourself Major Light Ideas
You might have liked the procedures mentioned above, but you might want more, don’t you? Well, we have got you all covered here as we present you with the 10 best ideas that you can use to do it yourself mason jar lights.
1. Solar mason jar lights

How about using a solar light inside your major jar? That would look pretty cool! These lights will add an appeal, and you won’t have to turn them on or off either.
2. Pallet mason jar lights
These lights will be very rustic in how they look as they will be hanging from a wooden pallet fixture. You can add many jars to this fixture and give them different colors as well.
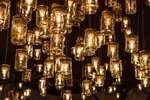
3. Chandelier of mason jar lights

And why not extend the above wood pallet idea and add more lights to the wooden pallet. Make the lights a little bit longer and make a chandelier out of it.
4. Vanity mason jar lights
You can always take an old light fixture and use the lighting kit to link with your mason jar and convert that fixture into something completely new.
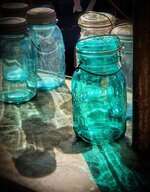
5. Blue mason jar lights
How about coloring it a little bit? You can go for a colored mason jar or even for colored light that you use in your jar and add a perfect amount of light to your room. You can use red, green, or any other color.
6. Pendant mason jar lights
You can use the pendant light kit here, but instead of going with a plastic jar, you can go for a glass jar. And without painting the inside of it, you can make these lights pretty comfortably by following the steps mentioned above.
7. Roped mason jar lights
Another great idea that you can go for is wrapping around rope over the half of your jar to make it old-fashioned. This will disperse less amount of light and work as a focus light too.
8. Blinking mason jar lights
There isn’t much in this idea, and it’s just replacing the steady fairy lights with the multi-color fairy lights and get that beautiful effect. It’s a top choice for decorative purposes.
9. Mason jar row of lights
You can use the same pendant light kit for this one. Just attach them to a wood panel and hang them in sequence from short to long. You can either use the same colored lights or go with different hues.
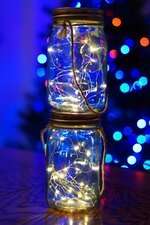
10. Constellation mason jar
This is more for light effects in the dark. And you can use small LED lights for this and make sure they are battery-operated. Just wrap them around something, and it needs to be in sequence. Place it inside the jar and turn the lights off. You will see a galaxy of stars in your room.
FAQ
Can I make Christmas lights following the same technique?
You can make any do it yourself mason jar lights as long as you keep the power source connected if you are going for a bulb. The easier way to go is using the fairy lights because they are battery-operated.
Is it safe to use these lights inside a jar?
Yes, it’s perfectly safe to use these lights inside your mason jars. You might notice that the jar gets warm as soon as you turn the light on, but this is it, and it’s not that warm to melt the plastic wires inside the jar.
How can I hide a battery pack inside the major jar?
Stick it to the vase rim with the help of double tape. It will be strong enough to hold for a long time. If you are not moving your jar and place it on a higher surface, you can stick it to the bottom of the jar.
Conclusion
There you have it. These do it yourself mason jar lights look amazing, and you don’t have to go through a lot to get the job done. Using battery-operated lights is even simpler than plugged lights. Just make sure to clean your jar thoroughly before you put the light in.
You can use colored lights or can color the jar if you want. The possibilities are endless here, and there is almost no effort you have to put in. You can use these lights indoors and outdoors and add a lot to the overall aesthetics of your space.
